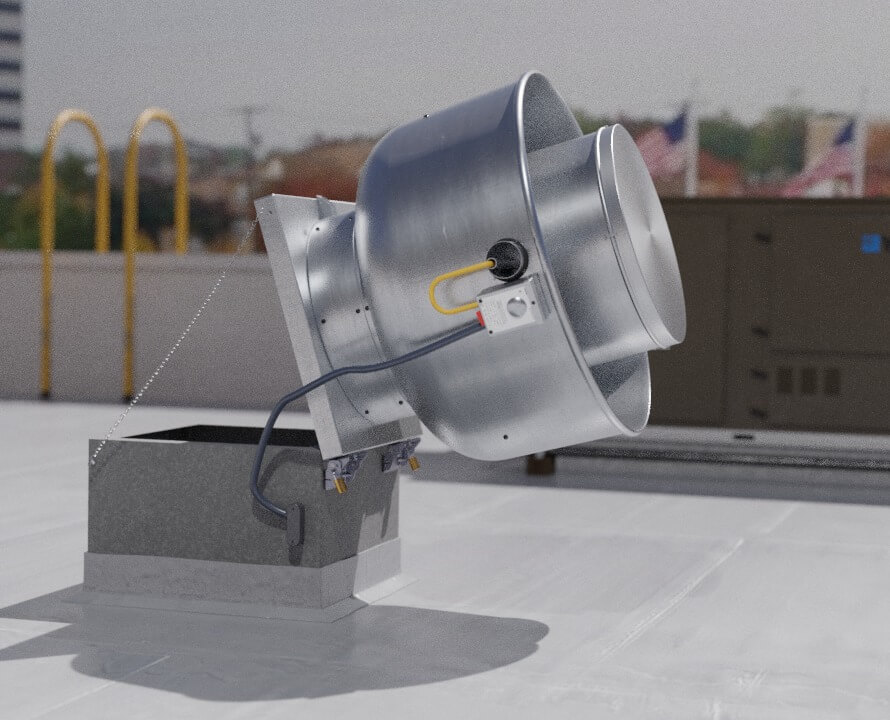
Basically, the main purpose that exhaust fan hinge kits serve is that they make it easy to clean the exhaust fan as well as reduce the risk of damage to any of the fan parts. Actually, a lot of insurance companies are now demanding hinge kits on fans because it also helps in decreasing liability. A proper Exhaust Fan Hinge Kit Installation is very important to your business and it is also advantageous for many other reasons.
Exhaust Fan Hinge Kit Importance
Exhaust Fan Hinge Kit is important for the following reasons:
Proper cleaning
A durable hinge kit should be installed properly in order to access all areas of the exhaust fan for thorough cleaning of any commercial kitchen exhaust fan safely.
Safety
If you try to remove a heavyweight exhaust fan from its place for the purpose of cleaning and maintenance, it will not only get dangerous for the person doing its cleaning, but it can also cause some major damage to the entire roof as well as the fan duct.
To safeguard the fan wiring
The wiring of the exhaust fan can be stretched if the entire fan is taken off the stack to be placed on the roof. Without having a proper hinge kit installed, the fan wiring can go through unnecessary abuse during the process of cleaning and maintenance.
To shield the entire exhaust fan
Your commercial kitchen’s exhaust fan can get damaged with passing time if you keep on removing it from the stack and place it on its side.
To thwart bending of the fan’s base plate or the duct work
The fan is made up of very lightweight and pliable metal. If it gets bent, there are chances that it can create such gaps that may allow grease to leak onto the roof.
To avoid a loose connection between the fan base plate and duct work
If the fan is not connected in a proper way, there are high chances that it may cause the fan to disturb and reduce the lifetime of the part.
To control roof damage
Rooftop damage and leaks can be a result of placing the exhaust fan on the roof during cleaning or maintenance processes.
It’s the Law.
NFPA 96 Code 8.1.1.1 states “Approved up-blast fans with motors surrounded by the airstream shall be hinged, supplied with flexible weatherproof electrical cable and service hold-open retainers, and listed for this use.”
When you properly install a hinge kit to your exhaust fan it will allow proper access in order to clean your entire system, in this way you will help in preventing the damage to the exhaust fan and all of its parts, meanwhile you may reduce a lot of your cost to repair the damaged rooftop.
Exhaust Fan Hinge Kit Installation

The proper installation of an exhaust fan is really very important in order to make it serve its purpose in the best way possible. After your fan hinge is properly installed, you can safely and easily prop up the exhaust fan for quick cleaning and maintenance. Having the proper tools the whole process of installing a Hinge Kit will only take no more than 15 to 20 minutes approximately.
Secure the exhaust fan hinges with proper and suitable spacing
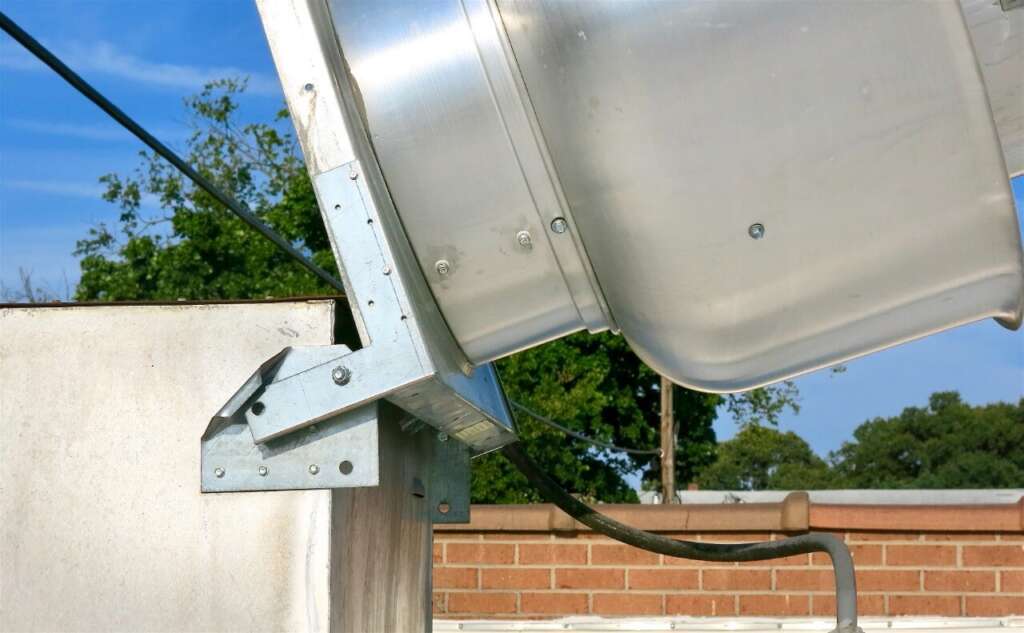
The very first step while you are installing the hinge is to make sure that you secure the two hinges to the front side of the whole unit. In case you are dealing with an upblast exhaust fan and curb that has two entirely different sizes, it will always be helpful to use the edge of the curb itself as its guide for where you should place the hinges, instead of placing them on the outer side at the edge of the fan base. Every hinge must come with two bolts and nuts that are used in order to attach the hinge to the fan base. At this step, it would be really important that you only tighten the bolts by using your hand until the time you have inserted the axle so that you have some elasticity.
After you have placed the axle in the proper position you will not need to be worried about the overhang, as you will cut the extra pieces of the axle off later in this step, after that you will have tightened the bolts by using a wrench. You will have to aim for a 1/8-inch gap between the hinge and the side of the fan base, all you have to do is to make sure to not over-tighten any of the hinges. After you achieve the proper gap, you may tie up the bolts down using the nuts.
Install support brackets on each sides of the fan
A proper support bracket has to be placed on both sides of the unit and should be placed directly against the fan curb itself. It all depends upon the shape of the curb that is there, you may tilt the brackets in case you need added clearance, or you may also associate it straight with the base. Always make sure that you use at least three screws in order to secure each support bracket, and again you should be very careful of over-tightening. Later in this step, you may test the hinges to see if they are moving properly.
Install the safety chains properly
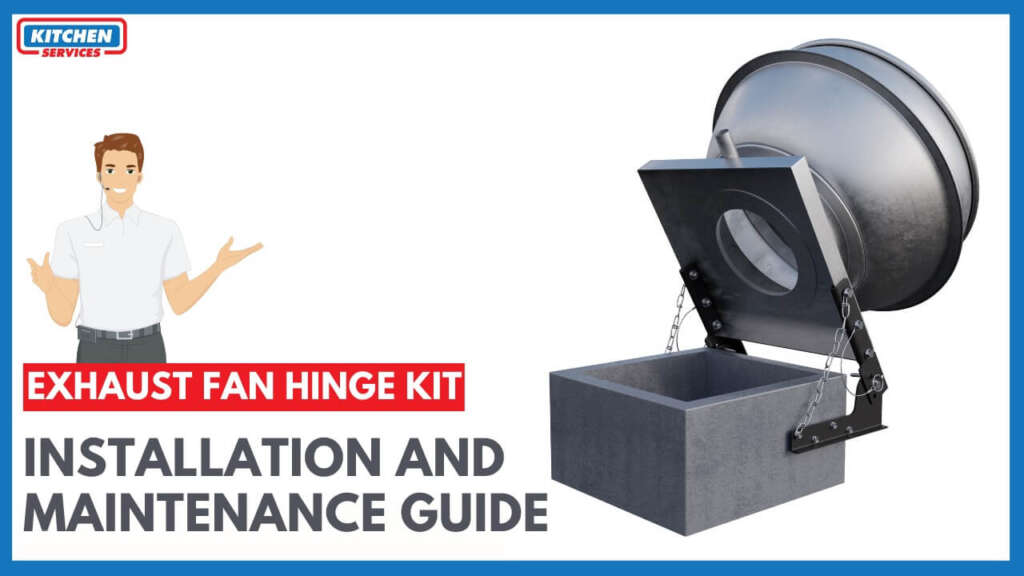
Deciding that at which angle you would want your exhaust fan to go back is totally a matter of your own choice, but it needs to go back at least far enough so that there is left no danger of it falling back on any person while they are working on it in any way whether it be cleaning or maintenance. Always keep in mind that the twisted end of each safety chain should be placed high on the corner of the fan base for ideal strength for everyone’s safety, only then you can measure out the required length to figure out where the other end should be attached on the curb.
Cleaning Guide for Commercial Exhaust Fan Hinge Kit

As we are all well aware of the fact that your kitchen exhaust fan is always responsible to remove all the steam, grease-laden vapors, smoke, and odor from your commercial kitchen while you are cooking. With the passing time, all this rubble builds upon the vents of the fan which will decrease gradually in terms of its working efficiency and possibly result in a dangerous fire. So, Commercial Exhaust Fan Hinge Kit installation and maintenance both are equally important.
Steps to clean Kitchen Exhaust Fan:
- First of all you will have to turn off and lock out the kitchen exhaust fan entirely.
- You should always pause your cooking while you are cleaning your exhaust fan.
- After that you will have to remove the grease filters, grease drawers, and grease cups.
- You may have to take out the filters and unhook all of the attachments.
- You can clean up any loose debris, carbon build-up and lubricant with the help of a wet and soft cloth.
- You must always use a suitable and approved cleaner after mixing it with hot water.
- You then have to place the parts of the exhaust fan and filters in that soap and water solution.
- You can also use caustic soda mix or any enzyme blend.
- The next step would be to spray the roof fan, fan blades, bowl, and surrounding duct with any of the cleaning solutions.
- You always have to use high pressure and wet steam to clear all the grease, carbon, dirt and build up from the fan.
- You must use a duct spinner in order to clean the interior of the duct to the fire suppression system.
- You then have to soak the inside of the hood with an authentic degreaser
- Always use high pressure wet steam to clean the inside of the hood.
- You must always use a soft cloth and degreaser with a polisher to clean and shine the hood.
- After you clean everything properly, let it dry.
The exhaust fan cleaning technique may differ depending upon the fan that you have. Traditional upblast fans require a hinge kit while impeller broiler fans are typically partially disassembled to clean. All other steps will always be the same.

