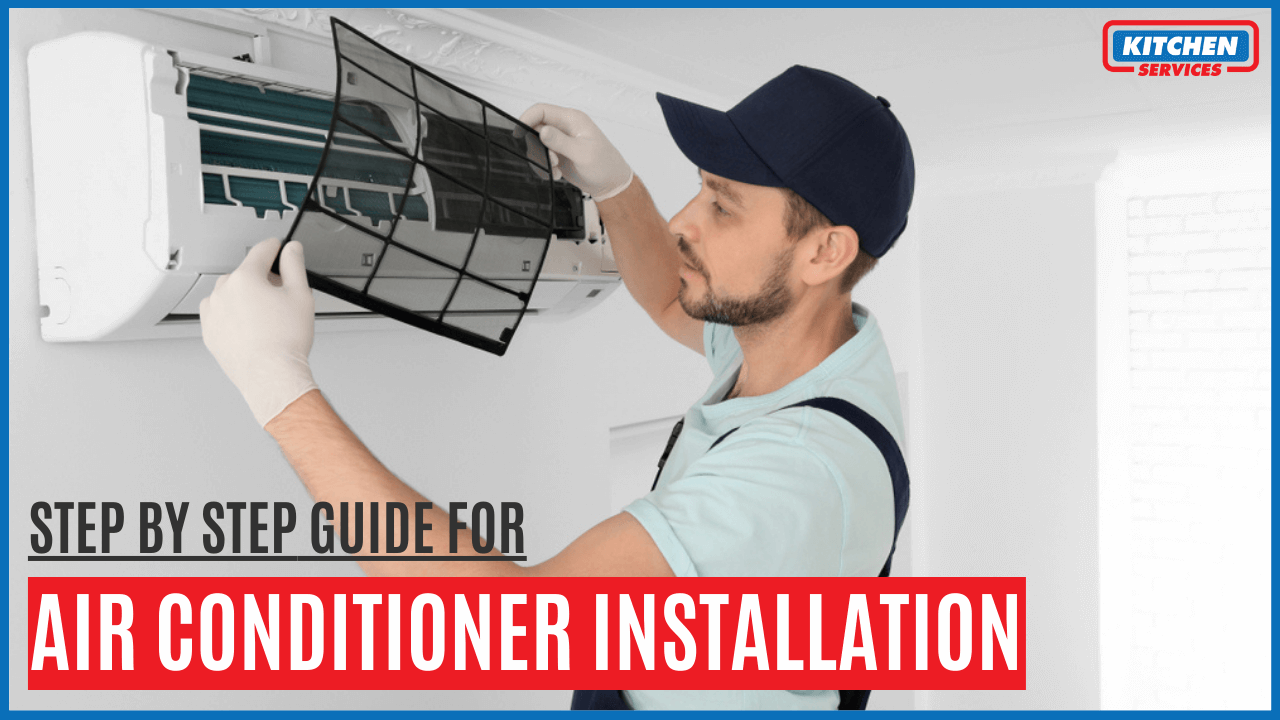
Installing an air conditioner is a major task that requires careful planning, the right tools, and strict attention to safety and manufacturer guidelines. Whether you’re upgrading an existing AC or installing a new unit from scratch, this comprehensive guide covers everything you need to ensure an efficient, safe, and long-lasting installation.
Understand Your Cooling Needs
Selecting the right air conditioner begins with understanding your cooling requirements. The wrong size—whether too large or too small—can lead to higher energy bills, poor comfort, and system strain.
Key Factors to Consider
- Square footage of the area
- Sunlight exposure and number of windows
- Insulation quality
- Ceiling height
- Occupancy load
- Heat-generating appliances
Use a BTU calculator or consult a certified HVAC technician. This is crucial for commercial spaces, where incorrect sizing can lead to expensive inefficiencies.
Preparation & Planning Checklist
Before installation begins, ensure you have completed this essential checklist:
✔ Assess the Installation Space
- Check available space for indoor and outdoor units.
- Ensure the area is clean and obstruction-free.
✔ Inspect Existing Infrastructure
- Inspect ductwork for leaks or damage.
- Verify electrical systems meet AC requirements.
- Upgrade wiring, breaker size, or panel capacity if needed.
✔ Plan for Drainage
Air conditioners remove moisture, which must be drained properly:
- PVC drainage to floor drain
- Condensate pump installation
- Outdoor discharge setup
Tools Needed for Air Conditioner Installation
A professional-grade installation requires the right tools:
- Drill with hole saw
- Stud finder & mounting screws
- Level
- Torque wrench
- Refrigerant manifold gauge
- Flaring tool
- Copper pipe cutter
- Vacuum pump
- PVC cutter
- Electrical tester
- Insulation tape
- Condensate pump (if necessary)
Choosing the Right Locations for Indoor & Outdoor Units
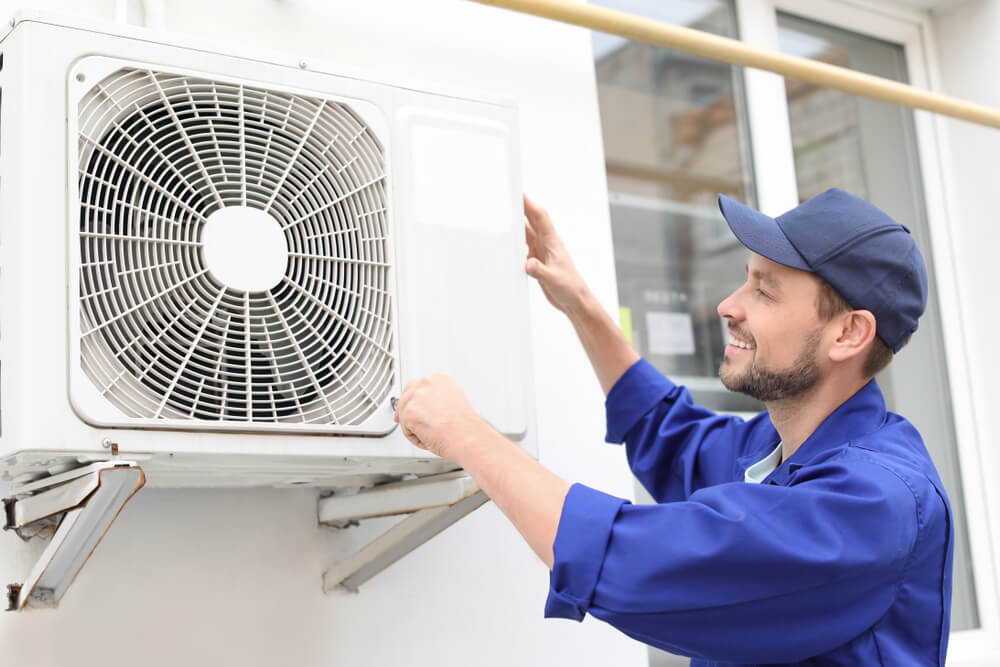
Outdoor Unit Placement
- Must be on a level, stable base (concrete pad or wall bracket).
- Keep 12–24 inches clearance on all sides.
- Choose a shaded, well-ventilated location away from direct sunlight.
- Avoid areas with heavy foot traffic or debris.
Indoor Unit Placement (Split Systems)
- Mount the unit 7 ft above the floor for optimal cooling.
- Avoid heat sources, direct sunlight, or blocked airflow.
- Ensure easy access for maintenance.
If you are unfamiliar with refrigerant systems, local building codes, or electrical work, it’s strongly advised to consult a HVAC contractor in Los Angeles. Professional guidance ensures safe installation and helps prevent costly mistakes.
NFPA Guidelines for Air Conditioner Installation
The National Fire Protection Association (NFPA) provides safety rules to prevent fire, electrical hazards, and property damage.
Key NFPA Standards
- NFPA 70 (NEC): Electrical safety requirements
- NFPA 90A / 90B: Installation of air conditioning, heating & ventilation systems
NFPA-Compliant Installation Requirements
- Use UL-listed and labeled equipment.
- Install a dedicated electrical circuit with the correct breaker size.
- Add a disconnect switch near the outdoor unit.
- Proper grounding as per NEC.
- Use fire-rated ducts, filters, and insulation.
- Install fire dampers where required.
These guidelines ensure the installation meets national safety standards—crucial for commercial buildings.
Step-by-Step Air Conditioner Installation Guide
Below is a complete, easy-to-follow installation sequence commonly used in professional AC installations.
Step 1: Initial Inspection
- HVAC technician evaluates the space.
- Choose the appropriate system (central AC, split, window, commercial unit).
- Verify room size, ventilation, and electrical capacity.
Step 2: Removing the Existing System (If Applicable)
- Recover old refrigerant safely using a recovery machine and storage tank.
- Disconnect wiring and drain lines.
- Remove old condenser and evaporator units.
Step 3: Preparing the Outdoor Pad
- Replace old pad with a composite pad for stability.
- Composite pads absorb vibrations and reduce operational noise.
- Ensure the pad is perfectly level.
Step 4: Installing or Replacing the Indoor Evaporator Coil
- A cased coil is recommended for easier access and insulation.
- Uncased coils may require additional plenum preparation.
- Ensure proper slope for primary and secondary drain connections.
Step 5: Installing New Refrigerant Lines (Line Set)
- Install new copper suction and liquid lines.
- Avoid mixing old and new oils—this prevents compressor damage.
- Secure refrigerant lines with proper hangers.
- Run low-voltage control wiring between furnace, thermostat, and outdoor unit.
Step 6: Setting Up the Outdoor Condenser Unit
- Place condenser on the composite pad.
- Connect refrigerant lines to the service valves.
- Braze or flare copper lines for a leak-proof seal.
Step 7: Installing Filter Dryer
- Install the dryer inside or near the condenser.
- It protects against moisture and contaminants entering the system.
- Place close to the indoor expansion valve for maximum efficiency.
Step 8: Electrical Connections
- Install the disconnect box near the outdoor unit.
- Connect the high-voltage supply.
- Ensure grounding and bonding meet NEC standards.
- Use fuses for overcurrent protection when recommended.
Step 9: Installing Condensate Drain Line
- Connect primary and secondary drain lines using PVC.
- Install a condensate pump if no gravity drain is available.
- Test for leaks and ensure smooth water flow.
Step 10: Vacuum, Charging & Testing
- Pull deep vacuum to remove moisture.
- Release or add refrigerant as required.
- Run the air conditioner for 15–20 minutes.
- Check for stable cooling, proper amperage, and refrigerant pressure.
- Complete commissioning to validate warranty.
Also Read: Types of Commercial Air Conditioning
Common AC Installation Mistakes to Avoid
Avoiding these mistakes ensures longer system life and higher efficiency:
- Incorrect AC sizing (biggest cause of inefficiency)
- Poor leveling of outdoor unit
- Improper insulation on copper lines
- Wrong breaker size or poor grounding
- Kinked refrigerant lines
- No drip loop in electrical wiring
- Blocked return vents
- Improper drainage slope
Final Tips for a Professional-Grade Installation
- Always follow manufacturer installation manuals.
- Keep units level to avoid vibration and noise.
- Ensure proper ventilation and spacing.
- Insulate refrigerant lines fully to prevent cooling loss.
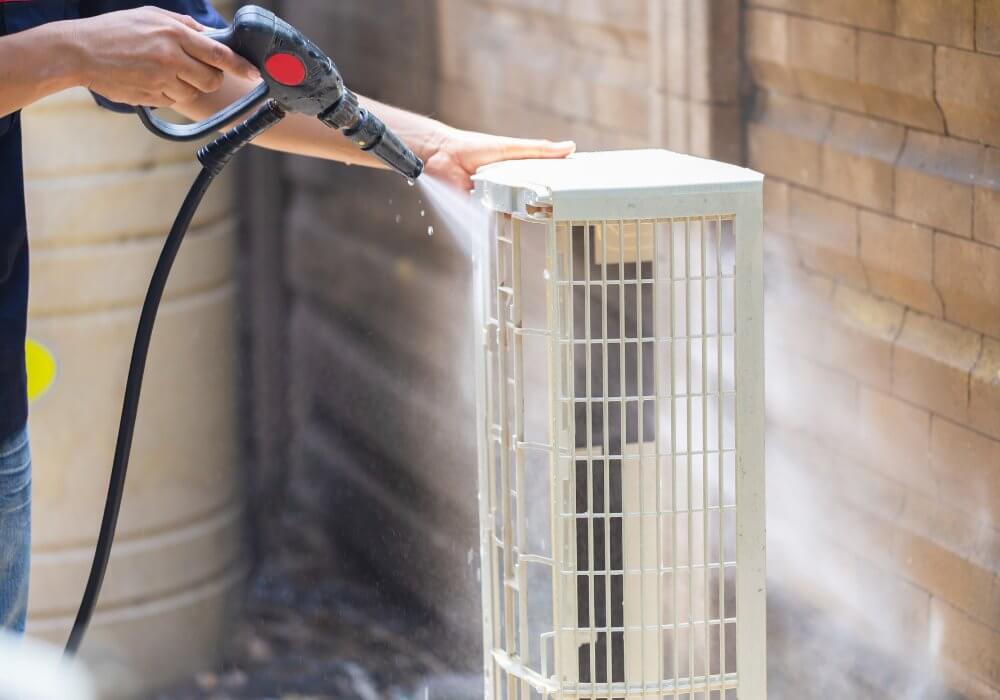
- Schedule annual maintenance.
- Clean filters monthly.
- Keep drain lines clear and functional.
Whether installing a window AC, a split system, or a commercial HVAC unit, precision and safety determine performance and lifespan.
Final Word
Air conditioner installation is a detailed process that demands precision, planning, and adherence to safety standards. Proper foam insulating on the sides of the air unit helps maintain your desired temperature and energy efficiency. While some handy homeowners may tackle basic aspects to reduce installation costs, involving a qualified technician for HVAC installation, refrigerant charging, and electrical connections ensures the system runs efficiently and safely for years to come.
Common FAQs About Air Conditioner Installation
What is Covered by NFPA 90A?
NFPA 90A covers the construction, installation, operation, and maintenance of air conditioning and ventilating systems that include filters, ducts, and all other related equipment, to protect any life and property getting damaged from fire, smoke, and gases caused by fire or conditions having indicators similar to fire.
What is Covered by NFPA 90B?
NFPA 90B covers the installation, maintenance, construction, and operation of all those systems that are used for heating and cooling purposes, for example, ducts, filters, and all other equipment.
The standard will apply to any system that moves environmental air in:
- All those spaces that are less than 25,000 square feet.
- All the buildings are about three stories or taller.
- One or two-family homes
Other systems that are included in the standard are:
- Ventilation and AC systems that are incorporated with building construction.
- Approval testing.
- Air distribution, HVAC systems and components.
- Manual controls, smoke detection, wiring, smoke dampers and other controls.
Can I install an air conditioner myself?
No, you cannot replace your air conditioner unit yourself. Even if you have little technical know-how to install your AC unit, all of the electrical components add an elevated level of risk to the process. Moreover, you must have proper HVAC experience to make sure that you get the right unit according to the size of your house.
Can I move my AC unit to the side of my house?
For moving your AC unit to the side of your house. The high-voltage electrical, low voltage and reference lines have to be moved to the roof. For that, a stand must be added to the roof structure. A crane should be called to move the unit to the roof.
How many hours should AC run per day?
During a hot or humid day, the average air conditioning unit should run for about 15 or 20 minutes. After 20 minutes, the indoor temperature shall reach your preferred setting and the unit will turn itself off automatically.
When should I replace my existing AC unit?
The best way would be, for you should do it before your existing system fails and makes you rush to make a replacement choice. Luckily, there are a few signs that will indicate to you that it is time to start looking at your options, if your unit is more than 10 years old and it is not keeping up with your present requirements, you will notice a big increase in your cost to make it work or maybe it needs regular refrigerant refills as well. In some cases, a simple repair may be all that is needed.
How to install a window air conditioner?
To install a window air conditioner effectively, begin by ensuring the window opening and window frame are clean and sturdy. Position the window AC unit within the frame and secure it with support brackets for stability. Run any necessary PVC pipe for drainage, and make sure the electrical wires are safely managed. Once in place, double‑check that the cool air flows well and that the unit is tightly sealed around the window sash to avoid any gaps. Different types of windows may require slight adjustments, but with the right setup, a window air conditioner will keep your space cool and comfortable.
Can I replace my AC myself?
Technically, you can, but it’s not recommended unless you’re a licensed HVAC technician. AC installation involves electrical wiring, refrigerant handling (which requires EPA certification), and ensuring proper airflow and drainage. Improper installation can void warranties, reduce efficiency, or even pose safety risks. It’s best to hire a professional to ensure everything meets code and operates safely.
What are some air conditioner installation tips?
- Choose the right size unit for your space—too small won’t cool effectively; too large wastes energy.
- Install on a level, secure base with good clearance for airflow.
- Seal all connections and ducts to prevent leaks and boost efficiency.
- Ensure proper drainage to avoid water damage.
- Avoid direct sunlight on outdoor units when possible.
- Follow local codes and manufacturer instructions carefully.
- Test the system thoroughly after installation.