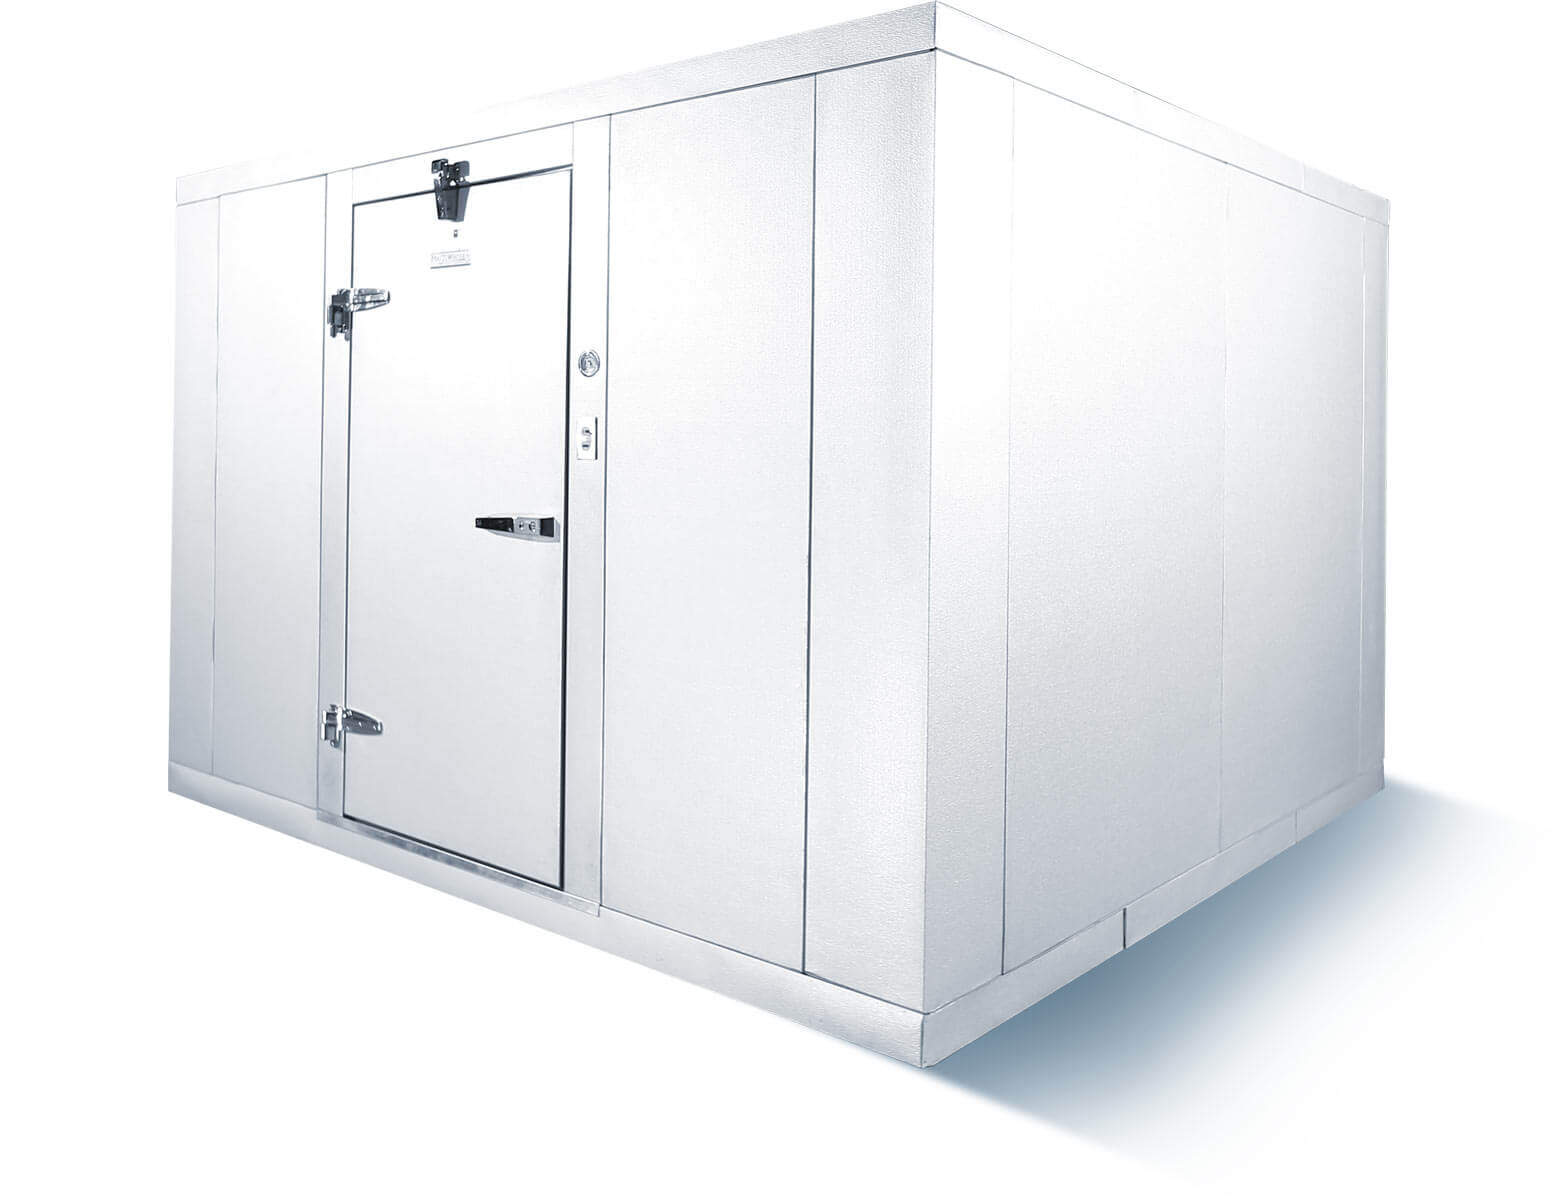
A walk-in cooler is a room-like refrigerator and freezer where you can store big chunks of food for preservation purposes. Usually, walk-in coolers are made with metals alongside panels of foam insulation. It is slightly different than a regular refrigerator because many different panels configurations and cam options are available in it which in the case of the refrigerator are unthinkable. Here is your list of instructions for installing a walk in cooler.
Kitchen services provide you a complete guide for the selection of your required walk-in cooler.
Types of Walk-In Coolers
There are two basic types of walk-in coolers.
- Prefabricated Walk-In Cooler
- Built-In Walk-In Cooler
If you are familiar with your requirements and have ordered a commercial walk-in cooler using our guide. Then it’s time for you to learn about its installation and if you can do it yourself or not.
Items Needed for Walk-In Installation
Before starting the installation, gather the following essential tools and safety equipment:
- Level
- Tape measure
- Safety glasses
- Gloves
- Hammer
- Metal snips
- Pry bar
- Phillips screwdriver
- Allen wrench
- Utility knife
- Square
- Drill driver
Having these tools on hand will help you complete the installation efficiently and safely.
DIY Walk-In Coolers Installation
Walk-in cooler installation can seem like a daunting task, but don’t let it be! Walk-in cooler installation is a very easy process. The following article will explain some simple things to keep in mind before you begin the install. Planning is critical to success either you are a business owner or just a worker in a firm. There are many reasons new walk-in installations fail, but one of the most common is not planning or preparing properly. As Benjamin Franklin so famously said, “By failing to prepare, you are preparing to fail.” Just as you formulate a solid plan for your business, the same should be true when you are ready to install a new walk-in cooler or freezer in your home or resort. Hopefully, you will find the following steps helpful in developing your plan of action for the commercial walk-in cooler installation.
Installing a walk-in cooler is one tricky job. There are proper technicians who have expertise in installing a commercial walk-in cooler. DIY is out of the question when it comes to a commercial walk-in cooler because it is one massive piece of equipment that is loaded with highly engineered components and you as a layman would destroy the components.
This job requires a properly trained technician. So make sure you have fixed your appointment with a commercial walk-in cooler installation expert. If you are looking for walk in cooler installation service providers in Los Angeles and surrounding areas.
Call Kitchen Services for all installation and maintenance: 3233102010
Walk in Cooler Installation Process
Here are detail steps to build a walk in cooler:
Inspect your commercial walk-in cooler just when it delivers
While unboxing the panels of a walk-in cooler, make sure that each panel has been delivered to you safely and nothing is damaged. If you find anything damaged and non-relative to your particular walk-in cooler just dial the claim number provided by the services. Usually, shipping is one safe way of sending machinery to far destinations but sometimes equipment gets a bit damaged during travel. So, you must inspect all the panels and components of your commercial walk-in cooler.
Check all panels and handle them
Before shipment, the panels go through quality check control individually so that you won’t have to go through the trouble of returning one. Anyways, once you unbox the material put the panels on a steady surface to avoid dents and damages. Use sufficient manpower for handling and dropping purposes.
Prepare your site for installation
Make sure that the place you have chosen for installation purposes is okay and doesn’t have any moisture on it. Mark the crucial points with some chalk or marker for good measurement.
Take measures for floor panels
Once the installation site is cleared now you need to mark down the lines for floor panels. The lines will help you with the exact installation.
Measures for floorless installation
Marking is also necessary for wall purposes however if the surface is dry that is more preferable for a floorless walk-in cooler. Make sure that you place the panels on the exact lining that you draw.
Wall assembly for installation
Follow the draw lines and select a rear corner panel, place it even with the outside of the base, and partially lock it into position. Select a wall panel on either side of the corner, firmly lock these panels to the corner. Once the structure is stabled on exact marks then it’s time to completely lock the panels so it may not loosen up with time.
Measures for indoor installation
For a ceiling over 16 ft. long, a suspended support system will be supplied. Supports should be installed as per the engineering drawing supplied by the factory.
Measures for outdoor installation – Make sure the material of your walk-in cooler is highly reliable if that’s for outdoor purposes. A rainproof cap is recommended for safety purposes. The outdoor rainproof membrane is a 40-mill polyester fabric.
Rain roof installation instructions – Make sure that the material quality can withstand the heavy rainfall, however, we don’t recommend an outdoor walk-in cooler if you are in a tropical rainy area. Place vinyl roofing material, with flaps underneath, on top of walk-in across narrow end. Allow 6″ of vinyl to lap over each of the three sides. Carefully unroll vinyl material until vinyl flap falls into position.
Above mentioned steps are crucial for the successful installation of a commercial walk-in cooler. DIY is not an option with a commercial walk-in cooler. If you want to install your walk-in cooler, then this guide covers all the points that are mandatory for installation purposes.
Avoiding Pitfalls in Walk-In Cooler Installation
A flawless installation is critical to long-term performance and efficiency. Here are common mistakes to avoid:
- Inadequate Insulation
- Poor insulation leads to temperature fluctuations and higher energy costs.
- Double-check that all seals are tight and insulation meets industry standards.
- Ignoring Local Codes and Regulations
- Skipping compliance with building, health, or safety codes can result in costly penalties.
- Always consult local authorities or work with a licensed professional.
- Incorrect Floor Preparation
- An uneven floor can cause misalignment, leaks, and operational issues.
- Ensure the surface is level, stable, and designed to handle the load.
- Improper Door Installation
- A misaligned or poorly sealed door creates air leaks and energy loss.
- Confirm that the door closes tightly and gaskets seal properly.
Walk in cooler installation cost?
Walk in coolers can either be a room-sized which is a self-contained unit that can be as small as ten square feet or as big as a whole building, a walk-in cooler can be used in an array of commercial settings and for many different reasons. It can also be used in order to store different sorts of ingredients in any restaurant or even a bakery, but just as easily as storage for huge quantities of meat and dairy, and much more. It is commonly not something that is installed in a home, as well as it often requires upgrades to the structure, electrical services, ductwork, and much more.
The broad variety of many sizing options would make a huge price that is difficult to provide, even though experts always say that a walk-in unit may range from as little as $1,000 to upwards of $10,000, or even more. All the factors that may affect pricing may include the size of the cooled space, the number of updates that are needed to the electrical system as well as the hardware which may also include the potential for heavy-duty wiring, more breakers, and even new transformers, plumbing upgrades, and the layout of the building in which the walk-in cooler is installed. Any walk-in cooler installation that is 10 square feet can either be used for personal or even for commercial purposes.
Conclusion
It totally depends on the size, a traditional walk-in cooler might cost between $6,000 and $10,000. In addition to this upfront cost, you might also need to be concerned about all the operating costs that might be energy or even the service, which usually involves a specially trained technician. As we know that these appliances use a lot of energy as they operate around the clock in order to keep perishable products cold and fresh.
Typical commercial refrigerators may consume up to 17,000 kilowatt-hours of electricity where as large commercial freezers may consume up to 38,000 kilowatt-hours, which may result in high energy bills. It is likely worth investing in a walk-in cooler if your kitchen’s cold storage requirements or production capacity exceeds a reach-ins capabilities. Additionally, a walk-in could greatly improve your kitchen’s efficiency and organization.
Walk in Cooler Installation ProcessFAQs
Can you convert a walk in cooler to a freezer?
Cold storage solutions require a lot of engineering and careful design consideration. It is not advised that you convert walk-in coolers into walk-in freezers; however, it is possible to convert walk-in freezers into walk-in coolers
How much power does a walk in freezer require?
The annual power consumption of a walk-in freezer, if it were to be plugged in 24 hours a day, 365 days a year, would be around 700 kWh. One kWh is referred to as 1 unit of electricity, so a walk-in freezer can be expected to use 700 units of electricity annually.
What is the difference between a walk-in cooler and a walk-in freezer?
The more noticeable difference between cooler and freezers is the different working temperatures. Coolers work above 1˚ C (34˚F), while freezers work below 0˚C (32˚F). The different working temperatures require different insulating thickness for walls and ceilings, floor insulation, and floor warming.
How to do freezer panel installation?
To install freezer panels, start by aligning the floor panels, ensuring they are level. Next, position the wall panels, locking them into place with cam-locks or fasteners. Secure the ceiling panels last. Ensure tight seals between panels to prevent air leaks. Finish by installing corner and door panels, checking for proper insulation.
What are walk-in cooler assembly tool?
Walk-in cooler assembly tools include a rubber mallet for securing panels, a drill for fastening screws, and a torque wrench for cam-lock tightening. Additionally, utility knives help trim insulation, while caulking guns seal panel seams. A level ensures panel alignment, and safety gear like gloves and goggles protects during installation.
What are walk in freezer electrical specifications?
Walk-in freezer electrical specifications typically require a voltage of 208V or 230V, depending on the system’s design, with the option for single-phase or three-phase power. The amperage varies based on the refrigeration unit, usually ranging from 15 to 30 amps.
A dedicated electrical circuit is essential to power the compressor and evaporator fan, preventing overload. Heavy-duty wiring, such as 12-gauge or 10-gauge, is recommended, depending on the system’s amperage. Proper grounding is necessary for both safety and code compliance. Additionally, ground fault circuit interrupter (GFCI) outlets may be required to enhance safety in moisture-prone environments. All specifications must adhere to local electrical codes and manufacturer guidelines.
How to build a walk in cooler door?
To build a walk-in cooler door, start by assembling a sturdy frame using insulated panels. Attach hinges to the frame and mount it securely to the door jamb. Install a heavy-duty, insulated door with a tight seal to minimize temperature loss. Add a latch or handle for easy access and ensure proper weather stripping.
How do you build a walk-in freezer?
Building a walk-in freezer involves several key steps:
- Planning & Sizing: Determine the size, location, and usage.
- Insulated Panels: Use prefabricated insulated panels (usually polyurethane or polystyrene) for walls, ceiling, and floor.
- Refrigeration System: Install an appropriately sized condensing unit and evaporator coil.
- Vapor Barrier & Sealing: Ensure all joints and seams are sealed to prevent moisture infiltration.
- Electrical & Controls: Install proper wiring, lighting, temperature controls, and alarms.
- Flooring: Use insulated floors with slip-resistant, heavy-duty surfaces.
What are the basic requirements for a walk-in cooler?
Essential walk-in cooler requirements include:
- Adequate insulation (typically 4″ to 6″ thick panels)
- Approved refrigeration system
- Proper flooring (insulated, durable, moisture-resistant)
- Interior lighting (vapor-proof)
- Self-closing doors with gaskets
- Emergency release mechanism from the inside
- Proper drainage and ventilation
- Compliance with local health and building codes
What is a prefabricated walk-in freezer?
A prefabricated walk-in freezer is a modular cold storage unit made from factory-manufactured, insulated panels. These panels are assembled on-site to form the walls, floor, and ceiling. Prefab units are quick to install, customizable in size, energy-efficient, and comply with industry standards.
How do you replace the floor of a walk-in box (freezer or cooler)?
Walk-in box floor replacement includes:
- Removing existing floor panels or covering.
- Inspecting for mold, rot, or rust.
- Installing new insulated floor panels or pouring a new insulated concrete base.
- Sealing seams and edges to prevent moisture leaks.
- Applying a non-slip surface finish.
Professional handling is crucial to maintain thermal efficiency and durability.
What are the power requirements for a walk-in cooler?
Walk-in coolers typically require:
- Dedicated 120V or 208/230V circuits, depending on size and equipment.
- Amperage: Usually between 15-30 amps for small to medium-sized units.
- Separate circuits for lighting, refrigeration, and defrost timers.
- Compliant GFCI outlets in wet areas.
Always consult an electrician or follow manufacturer specifications for safety and compliance.
How much energy does a walk-in freezer consume?
Energy consumption depends on size, insulation, usage, and equipment efficiency.
- A small walk-in freezer might consume 1,000 to 2,000 kWh/month, while larger commercial units can use more.
- Energy-efficient models, proper insulation, and regular maintenance can significantly reduce operating costs.
Look for Energy Star-rated units to minimize energy usage.
What insulation material is used in walk-in coolers?
Common insulation materials for walk-in coolers include:
- Polyurethane Foam: High R-value, widely used for its efficiency and moisture resistance.
- Polystyrene (EPS or XPS): Durable and cost-effective, though slightly lower R-value.
- Mineral Wool: Sometimes used for fire resistance in specialty installations.
Proper insulation ensures temperature retention and reduces energy loss.
Also Read: Floral Walk-in Cooler installation guide